Color grading is one of the most powerful steps in video editing. It’s what gives your footage a cinematic, polished, and emotionally compelling look. Whether you’re editing a short film, a vlog, or a YouTube video, learning how to color grade on desktop can instantly level up the quality of your content.
In this guide, we’ll walk you through how to color grade like a pro—using tools found in popular desktop editors like DaVinci Resolve, Adobe Premiere Pro, and Final Cut Pro. Even if you’re a beginner, these tips will help you understand the workflow and achieve professional-looking results.
What Is Color Grading?
Color grading is the process of enhancing or altering the colors in a video to achieve a specific mood or look. It’s different from color correction, which involves fixing issues like white balance or exposure. Grading comes after correction and is all about style—whether that’s warm golden tones for a romantic feel or cool blue hues for a dramatic vibe.
Step 1: Choose the Right Software
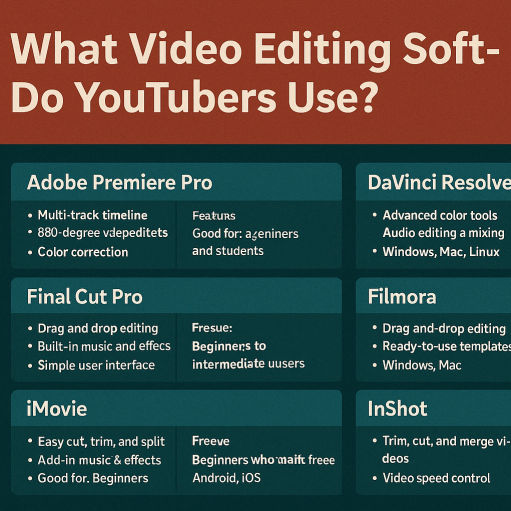
There are several desktop editing programs you can use to color grade:
- DaVinci Resolve: The gold standard for color grading. Free version includes all pro-level tools.
- Adobe Premiere Pro: Great for those already in the Adobe ecosystem.
- Final Cut Pro: Perfect for Mac users wanting speed and precision.
If you’re new to grading, DaVinci Resolve is highly recommended—it’s built specifically for this purpose.
Step 2: Do a Clean Color Correction First
Before diving into creative grading, start by correcting your footage so that it looks natural and balanced.
Focus on:
- White Balance: Make sure your footage isn’t too warm (orange) or too cool (blue).
- Exposure: Adjust highlights, shadows, and midtones to ensure your image is well lit.
- Contrast: Boost contrast to add depth and separate your subject from the background.
- Saturation: Restore natural color, but don’t overdo it—avoid skin tones looking too red or yellow.
In Premiere Pro, use the Lumetri Color Panel. In Resolve, head to the Color tab and use the Lift, Gamma, Gain wheels.
Step 3: Apply a Creative Look (The “Grade”)
Now it’s time to give your footage a specific tone or mood.
Techniques to try:
- Adjust Color Wheels: Push midtones slightly toward teal or orange for a cinematic feel.
- Add LUTs (Look-Up Tables): LUTs are pre-made color grading presets. They’re a great starting point for a consistent look.
- Isolate Skin Tones: Keep skin tones natural even when applying creative color effects elsewhere in the frame.
- Vignette: Darken the edges to draw attention to the center of the frame and add a professional polish.
Step 4: Use Scopes for Precision
Professional colorists don’t rely on their eyes alone—they use scopes to ensure accuracy.
- Waveform: Shows brightness across the frame. Keep highlights below 100 and shadows above 0.
- Vectorscope: Helps monitor saturation and skin tones.
- Histogram: Displays the exposure range from dark to light.
These tools help you maintain consistency across multiple shots, even if you’re grading a full video or film.
Step 5: Match Your Shots
One of the biggest giveaways of an amateur grade is inconsistent color between clips. Use shot matching tools (available in Resolve and Premiere) to ensure all your clips look cohesive.
In Resolve, you can even grab a still from one shot and apply the same grade to another. Adjust as needed for lighting or camera differences.
Step 6: Export With the Right Settings
Once your color grading is complete, make sure your export settings retain the quality of your work.
- Use ProRes or H.264 for web content.
- Export in 1080p or 4K, depending on your footage.
- Enable Render at Maximum Depth and Use Maximum Render Quality in Premiere.
Final Thoughts
Color grading may seem complex at first, but with practice, it becomes one of the most enjoyable and impactful parts of editing. By using a structured workflow—correct first, then grade, and checking your work with scopes—you can make your videos look cinematic and professional every time.
Whether you’re using DaVinci Resolve, Premiere Pro, or Final Cut Pro, mastering color grading is a game-changer in the world of visual storytelling. So open up your editor, trust your eyes (and your scopes), and start creating bold, beautiful videos.